Rinse the water tank before filling with only fresh potable water up to the maximum level.
Put the water tank back in position. Plug the power cord directly into 220 volt mains and place a container under the coffee outlet. Ensure the lever is in the lock position.
Turn on your machine.
Press the coffee button three times within 2 seconds.
The machine will start rinsing. The cleaning procedure will run automatically for 5 minutes. NOTE: water may accumulate inside the machine’s head during cleaning. If this happens please dry visible parts with a clean dry cloth.
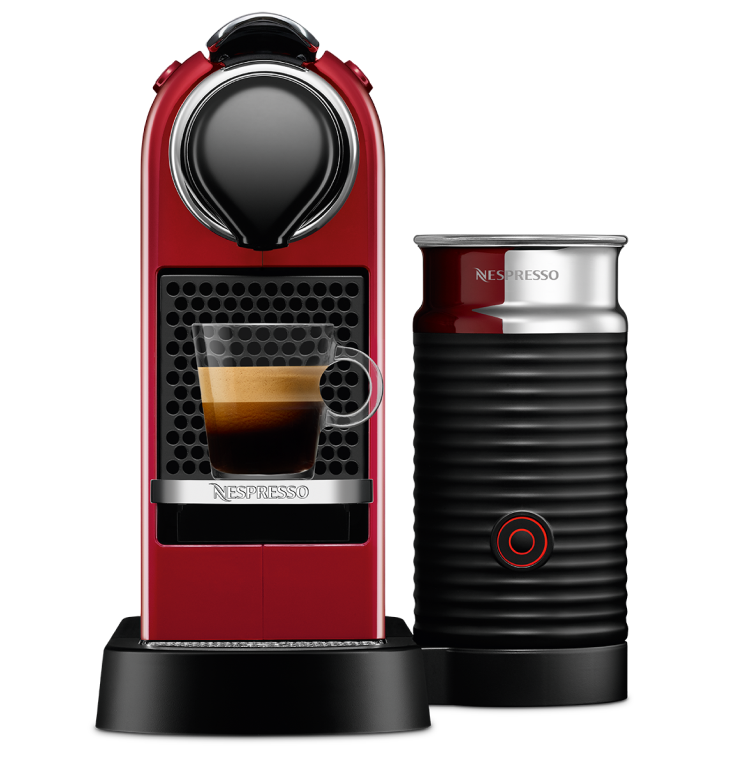
Disassemble the milk carafe by pressing the lid button to remove the milk carafe. Disconnect the aspiration tube. Turn the milk spout counter clockwise and pull it off. Then turn the milk carafe connector towards the unlock position and pull it out. Turn the knob to "remove to clean" position and pull it out.
Clean all six components in the top rack of your dishwasher. In case a dishwasher is not available, follow these steps:
Soak all components in hot potable water (50°C / 122°F) together with a mild detergent for at least 30 minutes; then rinse thoroughly with hot potable water (50°C / 122°F). Do not use scented detergents. Clean the interior of the milk carafe, the milk spout and the knob with a mild detergent and rinse with hot potable water.
Note: Make sure the Air inlet is clean, this will ensure recipe quality cup after cup. Do not use abrasive material that might damage the surface of the equipment.
Dry all six components with a clean cloth.
Reassamble by inserting correctly the milk carafe connector into the milk carafe lid and turn it clockwise towards the lock position. Insert the milk spout. Insert the knob and turn it to the "milk" position.
Insert the aspiration tube until its circular lip touches the carafe head bottom. Plug the milk carafe lid to the milk carafe.
Rinse and clean the water tank before filling it only with fresh drinking water. Put the water tank in place.
Ensure the capsule container and the cup support are in place. For your safety, operate the machine only with cup support and capsule container in position.
Plug the machine into a 220 volt outlet directly, without using extensions.
Turn the machine ON by pushing the start button. A GREEN light will blink while the machine is heating up.
Steady GREEN lights will indicate that the machine is ready.
Place a cup of at least 0.8 litre under the coffee outlet.
Open the machine head by pressing the lever up to eject the capsule and then push the lever down to close it.
Push the button 3 times in 2 seconds to start the cleaning process, which will run automatically. ORANGE lights will blink during the operation. It will take less than 2 minutes before a flow comes out. The procedure consists of 3 cycles of pumping water in, internal cleaning and water flowing from the outlet to complete.
This procedure may take up to 5 minutes. The procedure can be stopped at any time by pushing the button. The button will turn steady GREEN. To restart the cleaning process, follow the instructions starting at point 8. To brew a coffee, insert a capsule, push the lever down to close the machine and push the button.
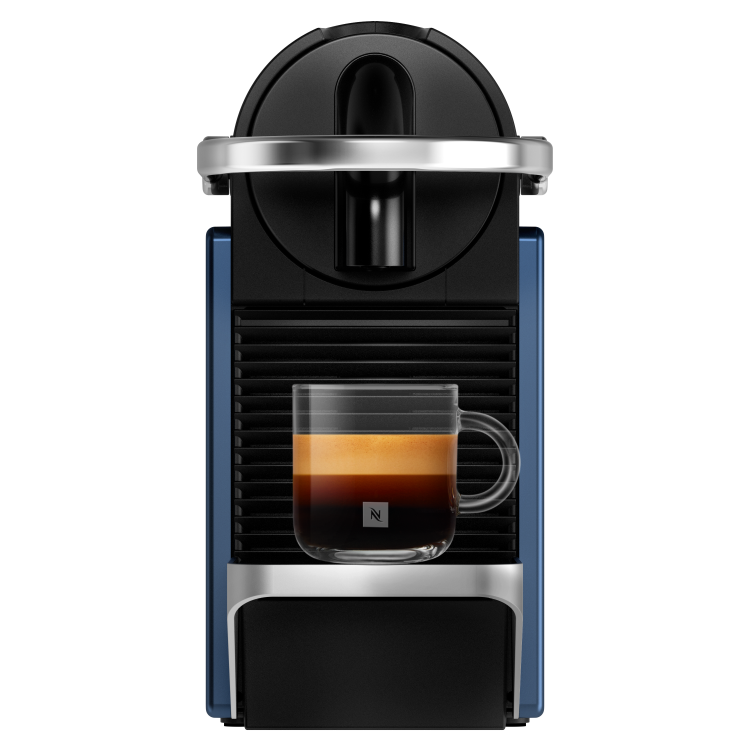
Rinse and clean the water tank and its lid before filling it with fresh drinking water. Secure the water tank in place and make sure it’s properly attached.
Ensure the capsule container and the cup support (if necessary for the selected cup size) are in place. For your safety, operate the machine only with the cup and capsule container in position.
Plug the machine into a 220 volt outlet directly, without using extensions.
For an optimised heating time, close and lock the machine to turn the machine ON. If the machine is already closed and locked, turn the machine ON by pressing the button. NOTE: to close the machine, push down the machine's head and turn the handle left to the lock symbol while maintaining pressure.
The light will blink while the machine is heating up. A steady light indicates that the machine is ready.
Place a container of at least 1 litre under the coffee outlet. Make sure that no capsule is inserted during the cleaning process.
Make sure that the machine is still locked. Press the button 3 times within 2 seconds to start cleaning and let the cleaning procedure complete automatically. It will take less than 2 minutes before the flow starts.
This operation may take up to 7 minutes. The procedure can be stopped at any time by pushing the button. In case you want to resume the cleaning process, push the button again. When interrupting the cleaning procedure, the machine may not stop immediately. Never open the machine during the cleaning procedure. Once the cleaning is finished, a steady light will appear on the machine.
CAUTION: Please read the safety precautions to avoid risks of fatal electrical shock and fire.
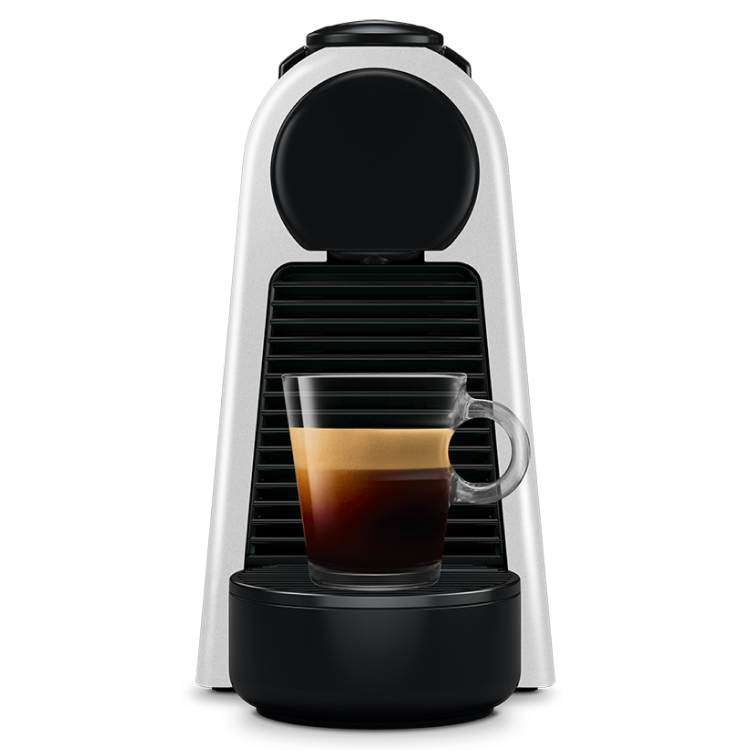
Rinse and clean the water tank and its lid before filling it with fresh drinking water. Secure the water tank in place and make sure it’s properly attached.
Ensure the capsule container and the cup support (if necessary for the selected cup size) are in place. For your safety, operate the machine only with the cup and capsule container in position.
Plug the machine into a 220 volt outlet directly, without using extensions.
For an optimised heating time, close and lock the machine to turn the machine ON. If the machine is already closed and locked, turn the machine ON by pressing the button. NOTE: to close the machine, push down the machine's head and turn the handle left to the lock symbol while maintaining pressure.
The light will blink while the machine is heating up. A steady light indicates that the machine is ready.
Place a container of at least 1 litre under the coffee outlet. Make sure that no capsule is inserted during the cleaning process.
Make sure that the machine is still locked. Press the button 3 times within 2 seconds to start cleaning and let the cleaning procedure complete automatically. It will take less than 2 minutes before the flow starts.
This operation may take up to 7 minutes. The procedure can be stopped at any time by pushing the button. In case you want to resume the cleaning process, push the button again. When interrupting the cleaning procedure, the machine may not stop immediately. Never open the machine during the cleaning procedure. Once the cleaning is finished, a steady light will appear on the machine.
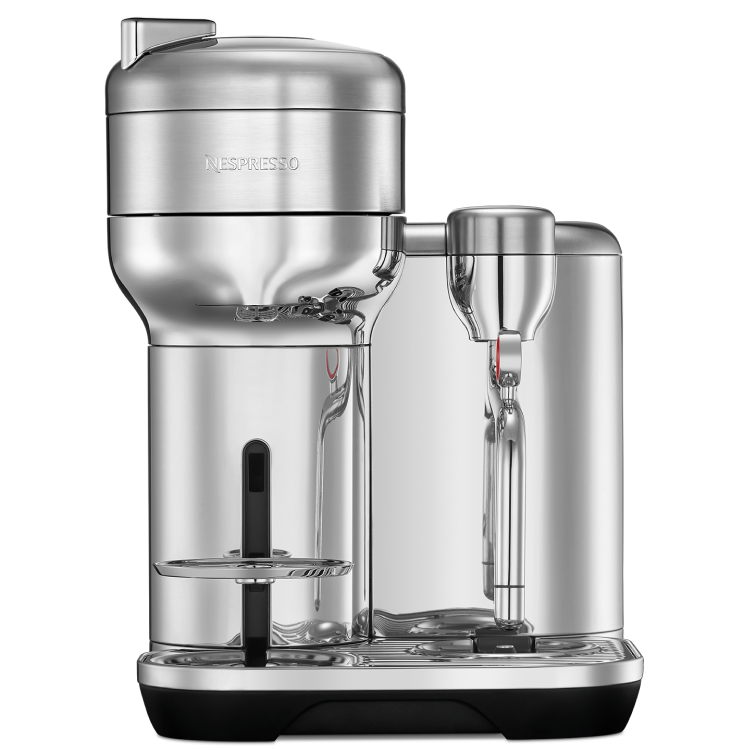
Place the water tank, insert the drip tray and the capsule container in position. For your safety, operate the machine only with drip tray and capsule container in position.
Plug the machine directly into the 220 volt power outlet.
Turn the machine ON by pressing the START|CANCEL button. Heating up takes approximately 10 seconds.
Rotate the SELECT dial to set your language. Press SELECT to confirm.
Setting your water hardness, dip the Water Hardness Test Strip in and out the water tank. Wait 1 minute. Set the water hardness by rotating the SELECT dial according to the results on the Test Strip. Press SELECT to confirm.
Follow the on-screen prompts to rinse & prepare your machine for use.
Follow the Quick Start Tutorial.
To turn OFF your machine, press and hold the START/CANCEL dial for 2 seconds until machine is off.
NOTE: to turn off the machine, press the On-Standby button (standby mode consumption: 0.22 Wh).
CAUTION: Please ensure ground continuity when plugging the machine in the power outlet. Ensure direct connection of 220 volt.
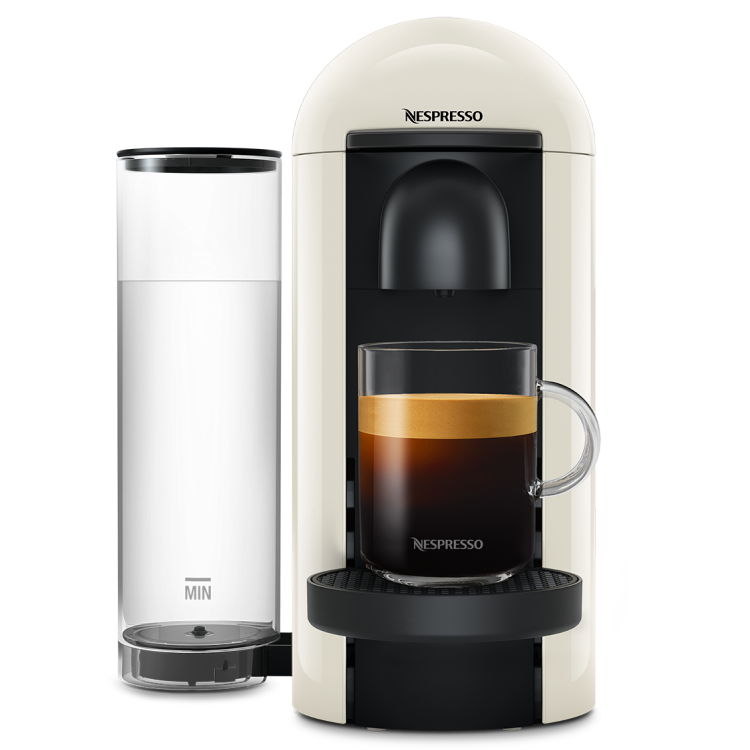
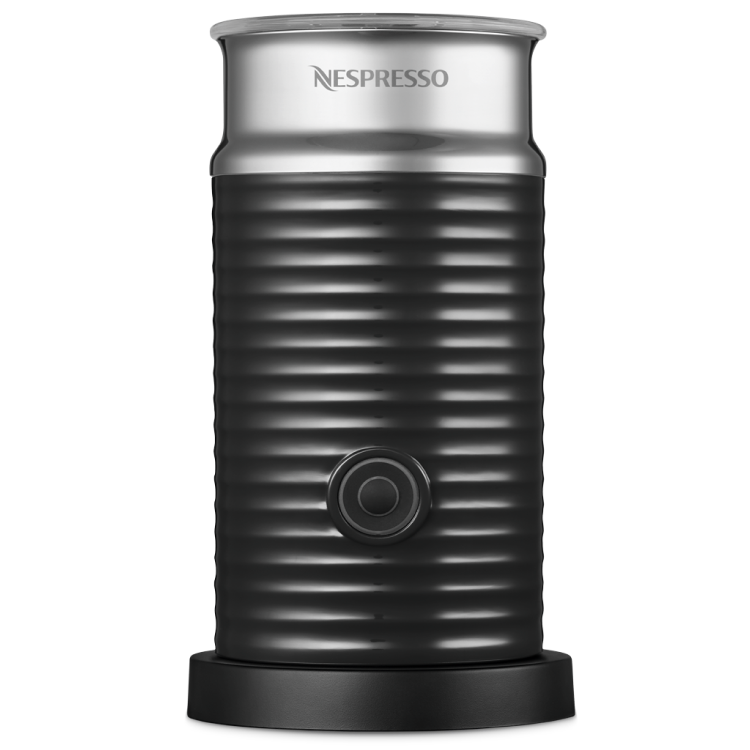
When unpacking the machine, remove the plastic film, water tank, drip tray, and capsule container. Adjust the cable length and store the excess in the cable guide under the machine.
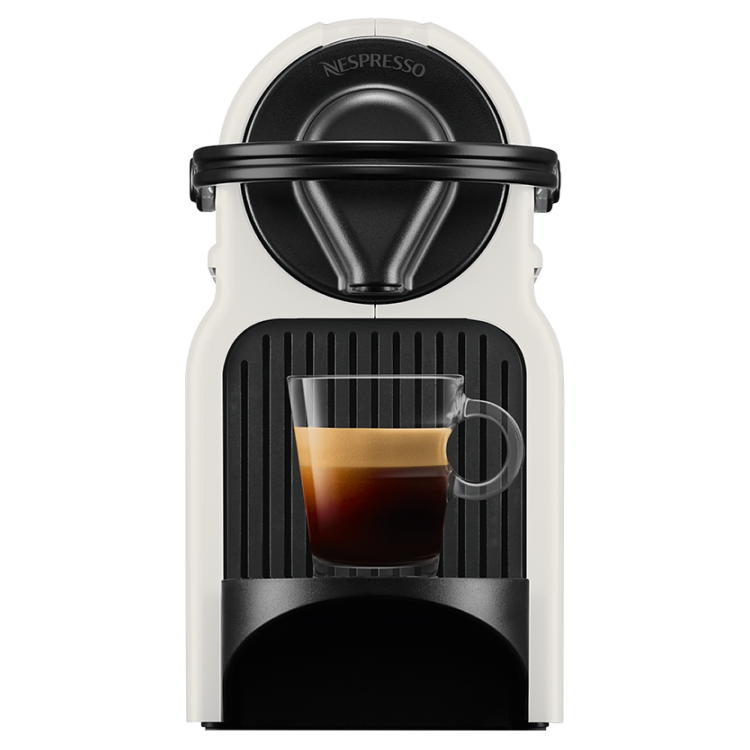
Rinse the water tank before filling with fresh potable water up to maximum level. Plug machine into mains.
Switch the machine on by pressing the on-standby button Blinking lights (coffee buttons): heating-up (25 s) Steady lights: ready.
Rinsing: place a container (not provided with the machine) under coffee outlet and press the (Lungo) button. Repeat three times. Machines are fully tested after being produced. Some traces of coffee powder could be found in rinsing water.
Disassemble the Rapid Cappuccino System; remove the milk container by pressing the buttons on the sides of the milk jug. Unplug the aspiration tube. CAUTION: When assembling the R.C.S., insert well the aspiration tube until it cannot move.
Position the milk spout vertically to disassemble and to reassemble.
Turn the Rapid Cappuccino System connector until the "unlock" symbol and extract it.
Turn the milk froth regulator knob on the "remove knob" position and extract it and clean all 6 components in the upper level of your dishwasher. In case a dishwasher is not available, follow these steps:
Rinse away carefully any milk residue with hot potable water (40°C / 104°F). Remove all the visible dirt with a sponge.
Soak all components in with hot potable water (40°C / 104°F) together with mild / soft detergent for at least 30 minutes and rinse thoroughly with hot potable water (40°C / 104°F). Do not use odor mild / soft detergents.
Clean the interior of the milk tank, the milk spout connector, and the milk knob with mild / soft detergent and rinse with hot potable water (40C/104F). * Ensure air inlet is clean. This will ensure perfect foam.
Do not use abrasive material that might damage the surface of the equipment.
Dry all parts with a fresh and clean towel, cloth or paper and reassemble. If the Rapid Cappuccino System was very dirty, proceed with two rinsing of the system by turning the milk froth regulator knob to (Clean) position. Milk system rinsing process starts and hot water combined with steam flows through the milk spout.
After reassemble and re-attach the R.C.S. to the machine, use the (Clean) function before preparing milk beverage.
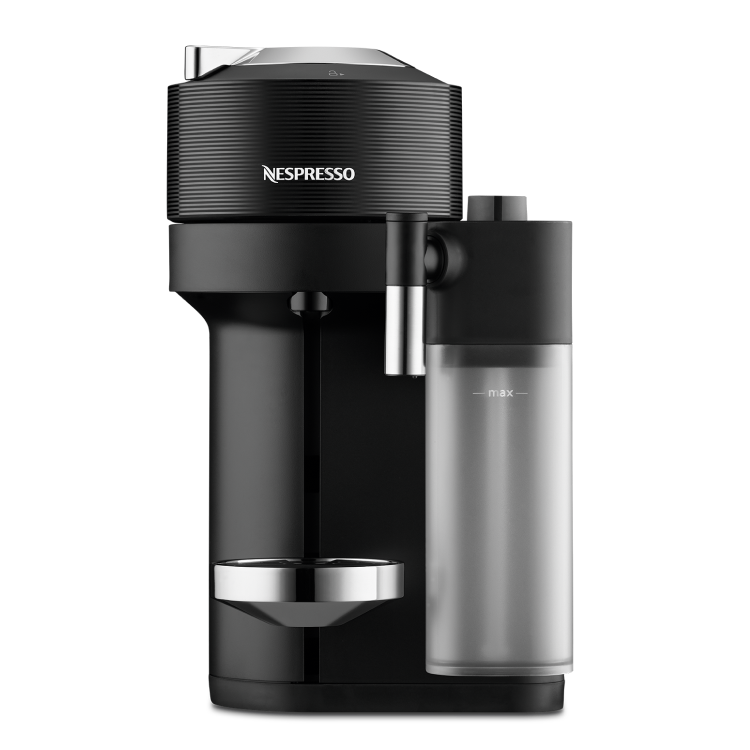
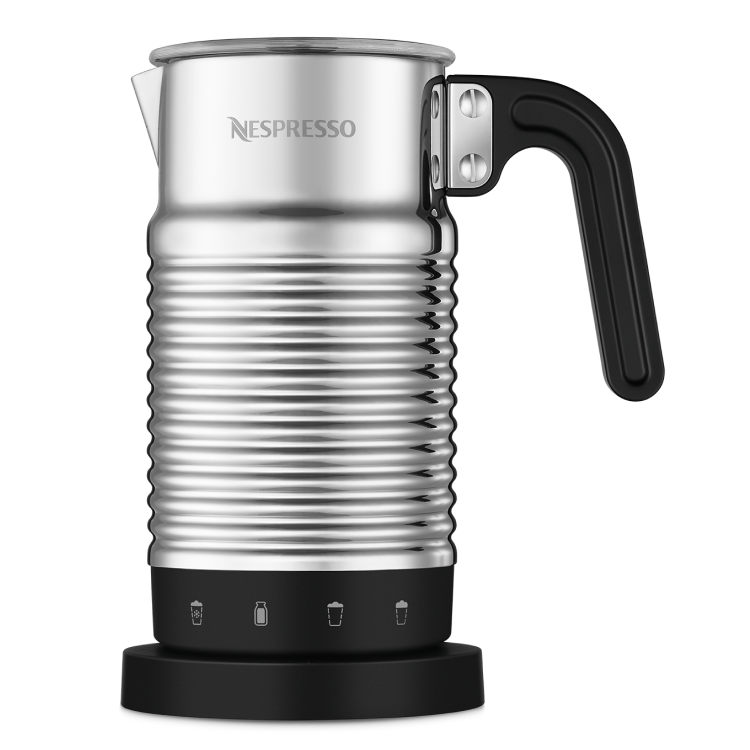
When unpacking the machine, remove the protective film, water tank, drip tray, and used capsule container. Adjust the cable length and store the excess cable in the cable guide located under the machine.
Plug the machine directly into 220 volt main. Rinse the water tank before filling it with drinking water, up to the maximum level.
Turn the machine ON by pressing any button: - Flashing lights: heating-up (18 seconds) - White light: ready to use.
Rinse the machine by placing a 500 ml container under the coffee outlet and pressing the LUNGO button. Repeat this process three times. Machines are fully tested after being produced. Some traces of coffee powder could be found in the rinsing water.
Clean the milk jug; remove the milk container by pressing the buttons on the sides of the milk jug. Unplug the aspiration tube.
Position the milk spout vertically to disassemble and to reassemble.
Press the button on the side of milk jug and pull to unlock the connector.
Remove the jug from the base. Remove seal from lid. Remove the whisk, and the spring from the whisk.
Wash inner jug, seal, lid, whisk and spring with detergent and rinse with warm/hot water.
Do not put the Jug in the dishwasher and do not immerse into water for cleaning purposes, do not water the bottom part of the Aeroccino which contains the electrical plug, but clean the interior of the Aeroccino with detergent and rinse with warm/ hot water. Use non-abrasive cleaning materials.
Dry all Aeroccino parts with a fresh and clean towel, cloth or paper and reassemble all parts.
Free delivery on 150 SAR+
Download the Nespresso app
Secure payments
Call 8001166612 for support
Shall we send you a message when we have discounts available?
Remind me later
Thank you! Please check your email inbox to confirm.